In this article I will discuss how to setup MonoGame development environment without Visual Studio 2019, instead use any other simple text editor or Visual Studio Code.
MonoGame is community driven open source Game library build upon Microsoft’s XNA framework. MonoGame and XNA are used in many famous games like Stardew valley, Terraria, etc.
In this article I will show how we can setup development environment for MonoGame with VS Code, without using Microsoft’s Visual Studio 2019.
Visual Studio is my favourite IDE, and I love it lot, best in its class for .Net developers, but very heavy IDE and there may be cases when you don’t want to overload your system and want to use light weight editor like Visual Studio Code.
So, Let’s start.
I am using windows 10 operating system for this tutorial. We will perform following steps:
- Install .Net SDK (.Net 6)
- Install Visual Studio Code
- Install MonoGame templates
- Setup MGCB editor
- Create First Application
- Run the project
Step 1: Install .Net SDK
.Net SDK is the primary requirement for MonoGame. This can be installed from .Net official page. As of writing this article, .Net 6 is the latest version, and we are going to use this.
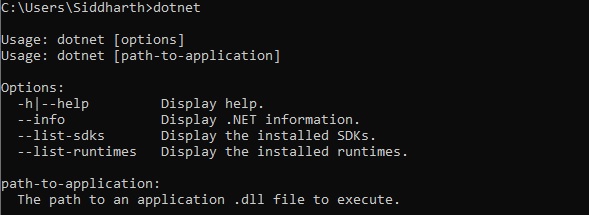
After installing it, to verify if its installed correctly, run below command in terminal/command line.
dotnetAnd you will get something like below:
Another way is to run below command which shows the installed version:
dotnet --versionWhich shows below result:
C:\Users\Siddharth>dotnet --version
6.0.100
Step 2: Install Visual Studio Code
Although you can use any text editor of your choice, but Visual Studio Code is a very popular free code editor, built on open source. It has also a very nice C# extension which gives pretty good intellisense.
You can download Visual Studio code from here.
Step 3: Install MonoGame templates
MonoGame templates give you very easy way to generate MonoGame projects.
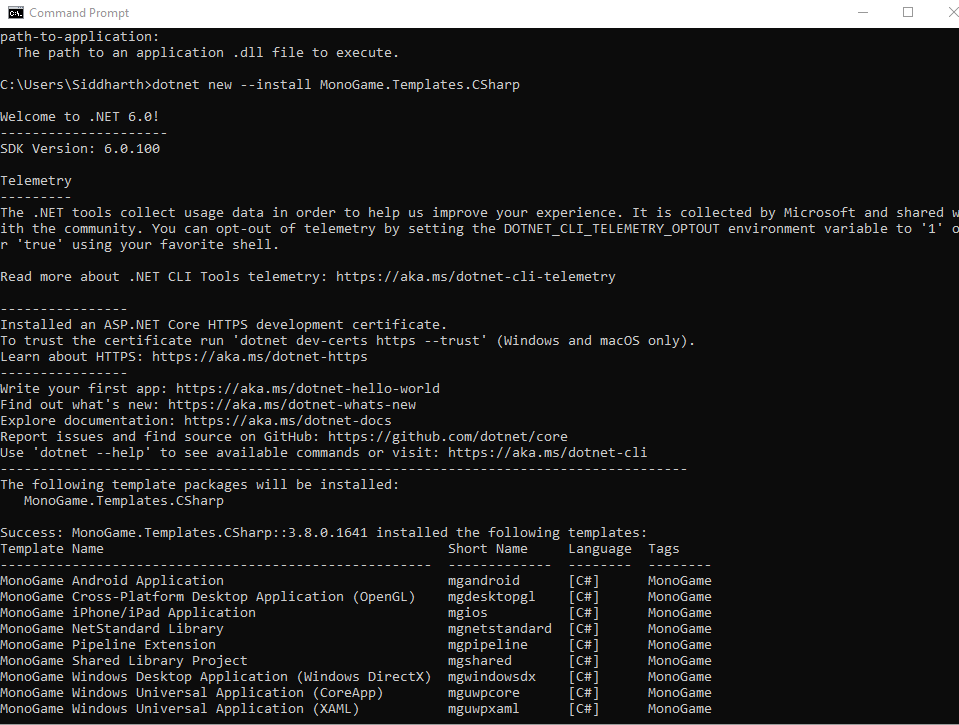
You can install it by running below command:
dotnet new --install MonoGame.Templates.CSharpAnd after that you can see something like below, which indicates successful installation.
Step 4: Setup MGCB editor
MGCB editor is a tool that helps to build content (Sprites, Images, Audio, Fonts etc.) of the game.
Execute below command to install MGCB editor:
dotnet tool install --global dotnet-mgcb-editorAnd result should be:

After that you will need to run below command, so that when you will try to open .mgcb file, it will open it directly in MGCB editor.
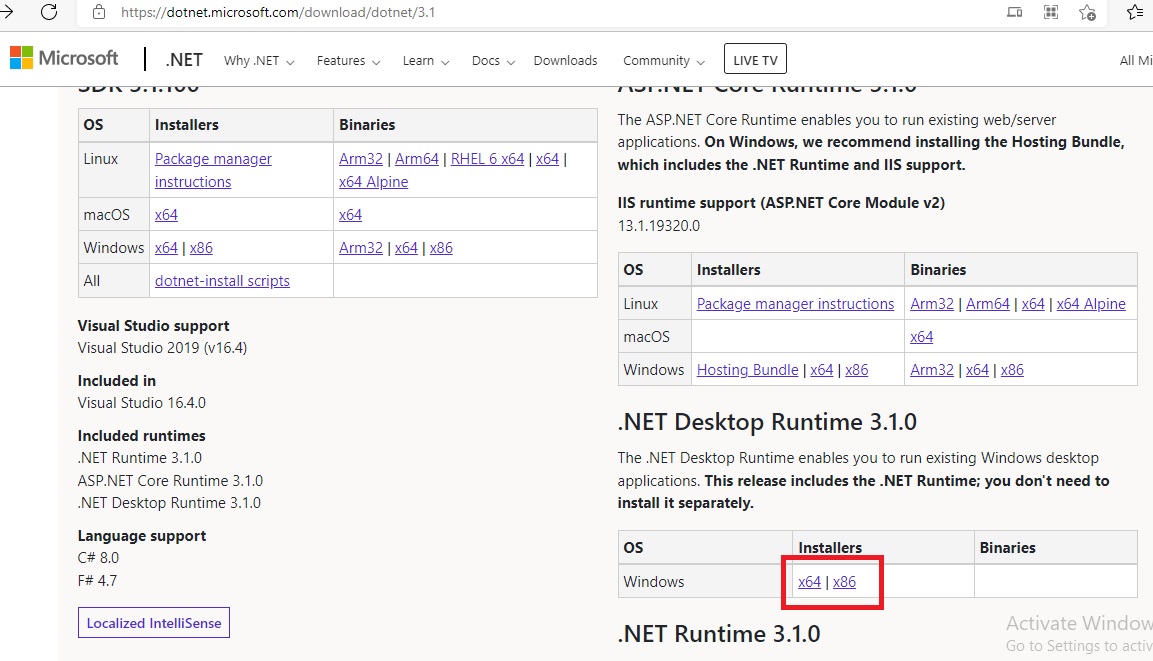
mgcb-editor --registerNote: If you get error in running above command, something like below image, then you will need to install the .Net 3.1 desktop application runtime, because as of writing this article (MonoGame is 3.8.0 version) MGCB requires only .Net 3.1.

You can fix by installing .Net Runtime 3.1 and .Net Desktop Runtime 3.1.0. You will need to install both of them. You can install from this link: .Net 3.1 runtime and Desktop runtime.
Step 5: Create First Application
Now its time to create our first application and testing, to check if all things are working fine or not. Run below command at any preferred location:
dotnet new mgdesktopgl -o TestGameThis will create a folder named TestGame and inside you will find the source code of the game generated by MonoGame.
Step 6: Run the project
Now lets run it.
Ensure you are inside the source code location, if not run below command to go inside:
cd TestGameRun below command:
dotnet runIt should show an empty window.
Happy coding.
You saved me